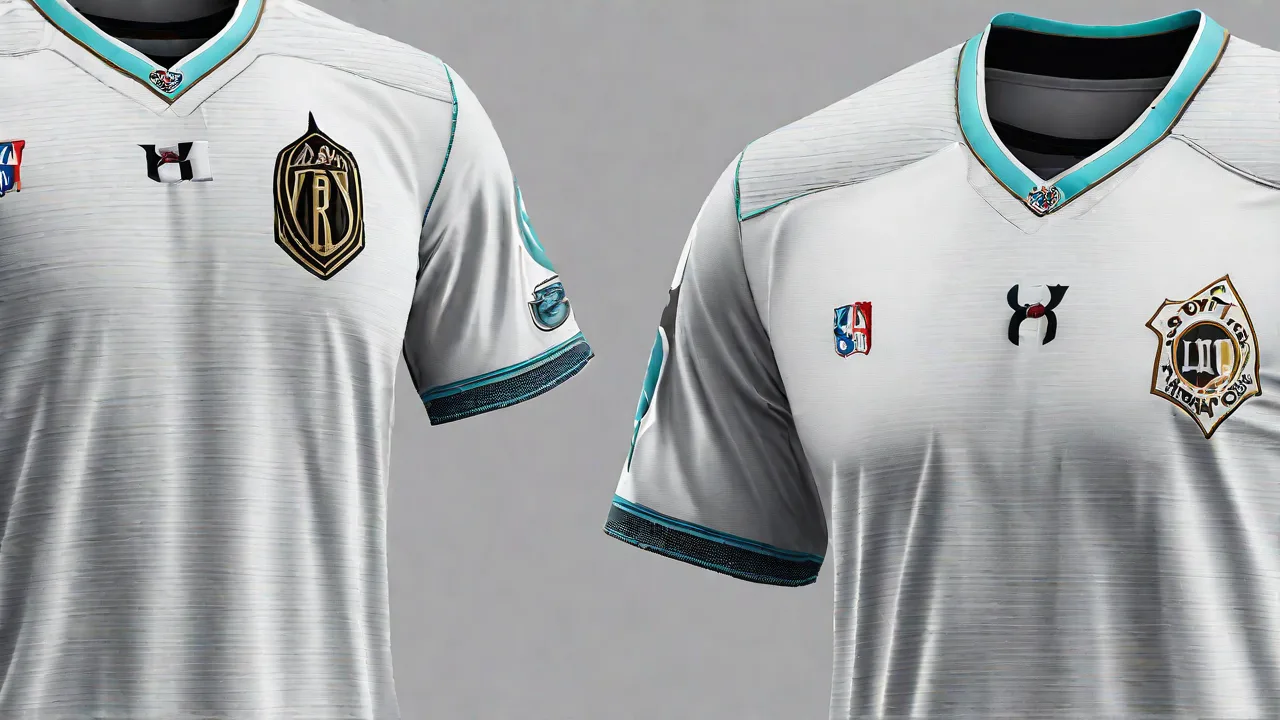
How to Collaborate With Designers for Your Custom Jersey Concept
Creating a custom jersey is an exciting journey that combines your vision with the expertise of professional designers. Whether you're crafting a jersey for a sports team, a special event, or personal use, collaboration is the cornerstone of transforming abstract ideas into a tangible, wearable masterpiece. This comprehensive guide will walk you through each step of the process, equipping you with the knowledge and strategies to work effectively with designers and ensure your custom jersey concept comes to life exactly as you imagine.
Understanding the Design Process
Before diving into collaboration, it’s essential to understand the typical design workflow your designer will follow. Knowing the stages and what they entail empowers you to engage meaningfully and contribute at every point.
1. Initial Consultation and Brainstorming
The process usually begins with an initial meeting or consultation where you and the designer discuss your vision, goals, and requirements. This phase is all about gathering information, sharing ideas, and setting expectations. You might talk about:
- The purpose of the jersey (team sport, promotional event, fan apparel, etc.)
- Your target audience or wearer profile
- Preferred colors, themes, and styles
- Budget and timeline constraints
This open dialogue sets the foundation for the design work ahead.
2. Concept Development and Sketching
Based on the initial input, the designer will begin sketching rough concepts. These can be simple hand-drawn sketches or digital mockups that outline the general layout, color blocking, and placement of logos or numbers. This stage is exploratory—multiple ideas may be presented to gauge your reactions and preferences.
3. Digital Rendering and Refinement
Once a concept is selected, the designer creates detailed digital renderings using specialized software. These renderings show the jersey with precise colors, textures, and graphic elements, allowing you to visualize the final product more realistically. Here, you can request tweaks or modifications to perfect the design.
4. Finalizing the Design Files
After all adjustments, the designer prepares the final files in the appropriate formats and resolutions required for production. This might include vector files for printing or embroidery, color specifications for fabric dyeing, and technical details for garment construction.
5. Production and Delivery
Although this is often outside the direct role of the designer, some designers coordinate with manufacturers to oversee production, ensuring the final jersey matches the approved design. You may receive samples or prototypes before full-scale manufacturing.
Preparing Your Ideas
Before engaging with a designer, spending time to organize and clarify your ideas is crucial. The more specific and prepared you are, the smoother the collaboration will be. Here’s how to prepare effectively:
1. Research and Gather Inspiration
Look for images of jerseys, uniforms, or apparel that resonate with your vision. This could include professional sports jerseys, vintage designs, or even fashion trends. Create a mood board or digital folder with colors, patterns, fonts, and graphics that appeal to you.
2. Define Your Objectives and Style
Ask yourself what you want your jersey to communicate. Is it a bold, aggressive look for a competitive team? A sleek, modern design for casual wear? Or perhaps a nostalgic tribute to a historic era? Defining the style—classic, futuristic, minimalist, or vibrant—guides the designer’s creative direction.
3. Consider Functional Requirements
Beyond aesthetics, think about how the jersey will be used. Will it need to be breathable for high-intensity sports? Should it fit snugly or loosely? Are there specific materials or fabrication techniques you prefer? Mention any technical details such as moisture-wicking fabrics, stretch panels, or reinforced seams.
4. Clarify Branding and Logos
If your jersey includes team logos, sponsor branding, or personalized text, prepare high-quality versions of these assets. Knowing where and how you want these elements placed helps prevent last-minute surprises.
5. Set Budget and Timeline
Be transparent about your budget and the timeframe for project completion. These factors influence design complexity and production options, helping the designer propose feasible solutions.
Communicating Effectively With Your Designer
Clear, consistent communication is the lifeblood of successful collaboration. Here are essential tips to ensure your conversations with designers are productive and positive:
1. Use Visual References
Words alone can be limiting when describing colors, styles, or layouts. Supplement your explanations with images, sketches, fabric samples, or even videos that illustrate your ideas. Tools like Pinterest boards or shared online folders can facilitate this exchange.
2. Be Open and Honest
Don’t hesitate to express your preferences, concerns, or doubts. If something doesn’t feel right, speak up early. Honest feedback prevents misunderstandings and helps the designer align the work with your expectations.
3. Ask Questions
If you encounter technical terms or design decisions you don’t understand, ask for clarification. Designers appreciate curious clients and will explain their choices to help you feel confident in the process.
4. Set Regular Check-Ins
Establish a schedule for updates and reviews. Whether weekly meetings or milestone check-ins, regular communication keeps the project on track and allows issues to be addressed promptly.
5. Document Agreements
Summarize key decisions, budgets, and deadlines in writing. This can be in the form of emails or formal contracts. Documentation minimizes confusion and provides a reference throughout the project.
Providing Constructive Feedback
Giving feedback is an art that balances honesty with encouragement. Effective feedback helps designers improve the work while maintaining a positive working relationship.
1. Be Specific
Instead of vague comments like “I don’t like it,” pinpoint what exactly you’d like changed. For example, “The red color feels too bright; can we try a deeper burgundy?” or “The logo placement on the chest seems off-center.” Specificity directs the designer’s revisions efficiently.
2. Prioritize Changes
Identify which aspects are critical versus those that are preferences. This helps designers focus on essential adjustments without getting bogged down by minor details.
3. Balance Positive and Negative Feedback
Recognize what you like in the design to motivate the designer. For instance, “I really like the sleeve pattern, but the font size for the numbers could be larger.”
4. Use “I” Statements
Express feedback from your perspective to maintain a collaborative tone. For example, “I feel that the current color scheme doesn’t match our team’s spirit” rather than “You chose the wrong colors.”
5. Be Patient and Respectful
Design revisions take time. Show appreciation for the designer’s efforts and remain open to their professional insights, which may offer creative solutions you hadn’t considered.
Finalizing the Design
Once you’re satisfied with the design, it’s time to confirm all the details before production begins. This stage ensures there are no surprises and the final product matches your vision perfectly.
1. Review Technical Specifications
Confirm color codes (such as Pantone or CMYK values), font types, logo placements, and jersey measurements. Verify that the design aligns with the manufacturing capabilities, such as printing techniques and fabric constraints.
2. Approve Final Files
Ensure the designer provides the final artwork in the correct formats—typically vector files (AI, EPS) for printing and high-resolution raster images (PNG, TIFF) for digital use. Check that the resolution is appropriate for the jersey size and production method.
3. Confirm Production Details
Discuss quantities, sizes, material selections, and delivery timelines with your manufacturer. If possible, review physical samples or prototypes before authorizing full production.
4. Prepare for Future Use
Request editable versions of the design files for future modifications or reorders. Having access to these assets saves time and costs down the line.
Building a Good Partnership With Your Designer
Successful collaboration goes beyond the project at hand—it fosters a lasting relationship based on trust, respect, and shared creativity. Here are ways to cultivate a strong partnership:
1. Show Respect for Expertise
Remember that designers bring specialized skills and knowledge to the table. Value their professional opinions even when they challenge your initial ideas, as this often leads to better outcomes.
2. Maintain Open Communication
Keep lines of communication open throughout and after the project. Promptly respond to messages, provide clear directions, and share updates about any changes in requirements.
3. Be Flexible and Adaptable
Design projects can evolve unexpectedly. Embrace flexibility and be willing to explore new directions suggested by your designer.
4. Give Credit and Referrals
If you’re happy with the results, acknowledge the designer’s work publicly and recommend their services to others. Positive recognition strengthens professional networks and encourages quality work.
5. Plan for Future Collaborations
Consider establishing ongoing relationships with your designer for future apparel needs or redesigns. Consistency in design language helps build brand identity and streamlines subsequent projects.
Additional Tips for a Successful Jersey Design Collaboration
- Understand Printing Techniques: Learn about different methods such as screen printing, sublimation, embroidery, and heat transfers. Each technique affects the appearance, durability, and cost of your jersey.
- Consider Regulations and League Rules: If the jersey is for an official sports league, verify any requirements regarding logos, colors, or sponsor placements.
- Test Colors in Real Life: Colors may look different on screen versus fabric. Ask for fabric swatches or printed samples to ensure color accuracy.
- Keep Accessibility in Mind: Use fonts and color contrasts that are easily readable and inclusive for all players and fans.
- Document Your Vision: Create a design brief that outlines all important aspects. Sharing this document with your designer helps keep everyone aligned.
- Budget for Contingencies: Set aside extra funds for unexpected revisions or production issues.
- Stay Inspired: Follow sports apparel trends and innovations to bring fresh ideas into your jersey design.
Conclusion
Collaborating with designers to create a custom jersey concept is a rewarding process that hinges on clear communication, preparedness, and mutual respect. By understanding the design workflow, preparing your ideas thoughtfully, providing constructive feedback, and fostering a strong partnership with your designer, you can ensure your custom jersey is not only visually stunning but also functional and true to your vision. Whether for a competitive team, a fan club, or a special occasion, your custom jersey will stand out as a unique symbol of identity and pride.